How to create a PBR material in Unreal engine using free textures.
You can find many websites with completely free textures to create PBR materials. In this article, we will be creating a PBR material in Unreal Engine. You can download the textures from this website. We will post some collections of free textures found on the Internet regularly.
Download and unpack the archive. You can find textures on the Internet with different resolutions, but for games you would hardly need more than 2K. In this example, we have 2K brick textures.
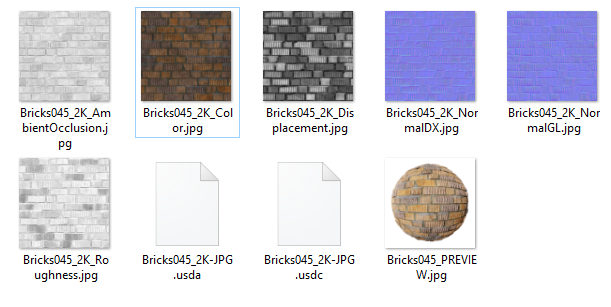
You can just drag and drop the textures into the content browser in Unreal. You don't need all files, though. Now let's create the material. Right click in the content browser and select "Material". And double click to open the material editor.
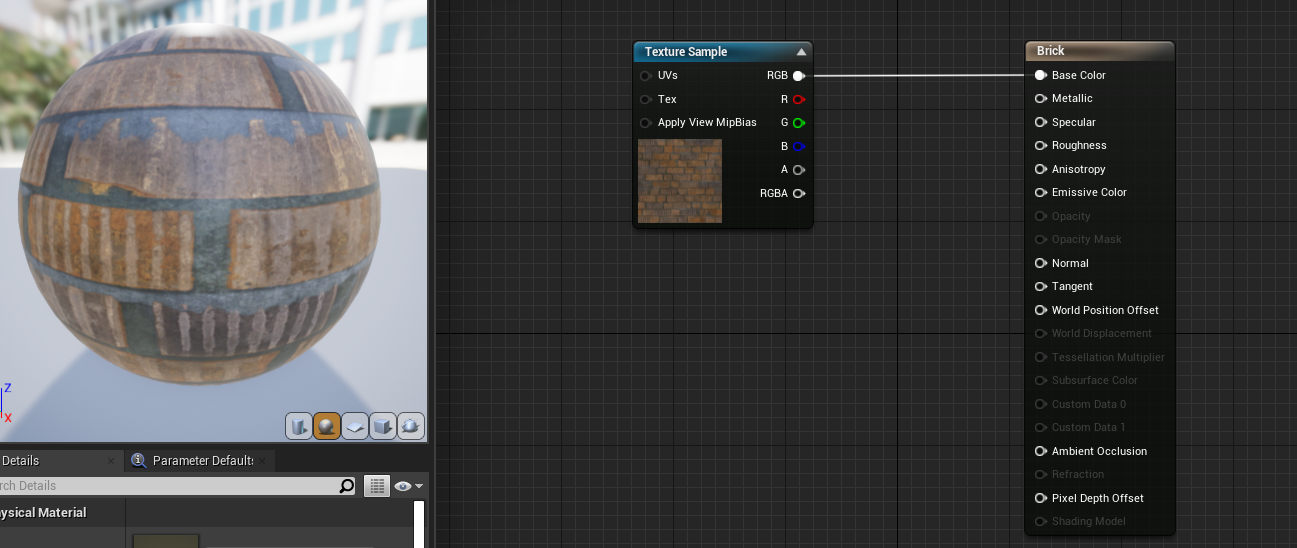
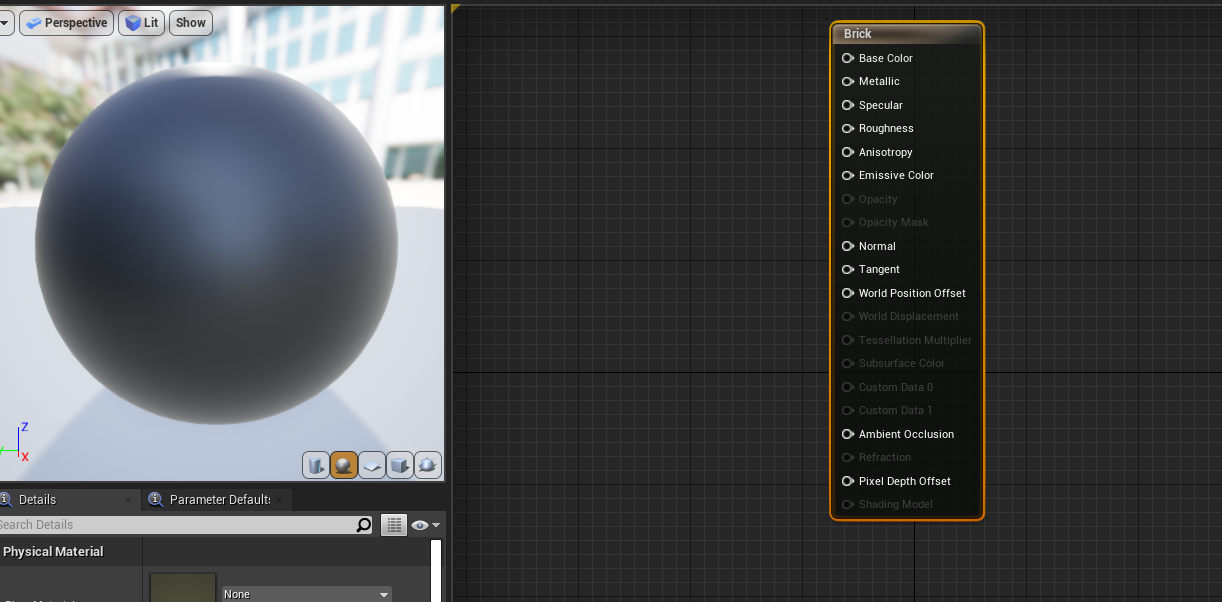 First, we drag our color map, in this case
 Bricks045_2K_Color.jpg. We can just connect it to the Base Color.
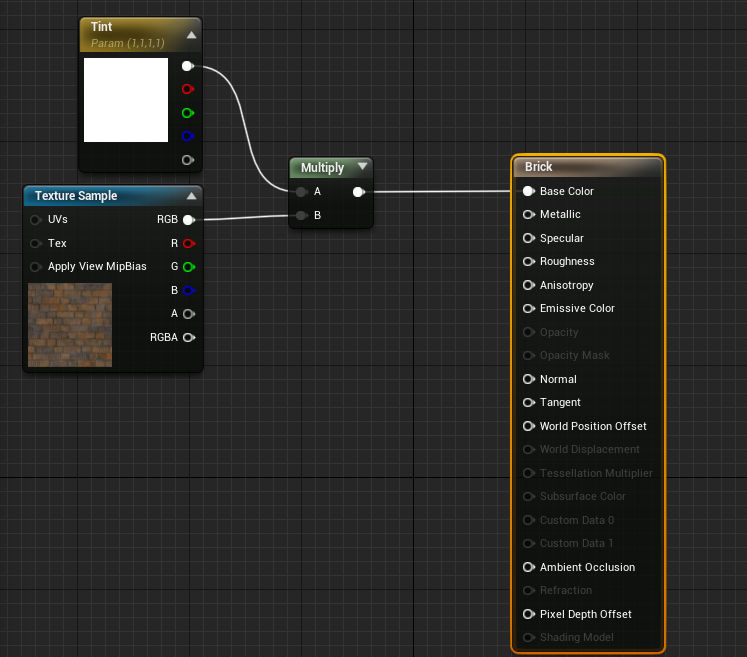
But sometimes you need to slightly change the color. We can do it by adding 3Vector. Set it to be 1, 1, 1 and convert in to a parameter, let's call it "Tint". We will change it in the material instance.
 The material is working already, but it is flat. To create the illusion that there are more details, bumps, we use a normal map. We have two files:
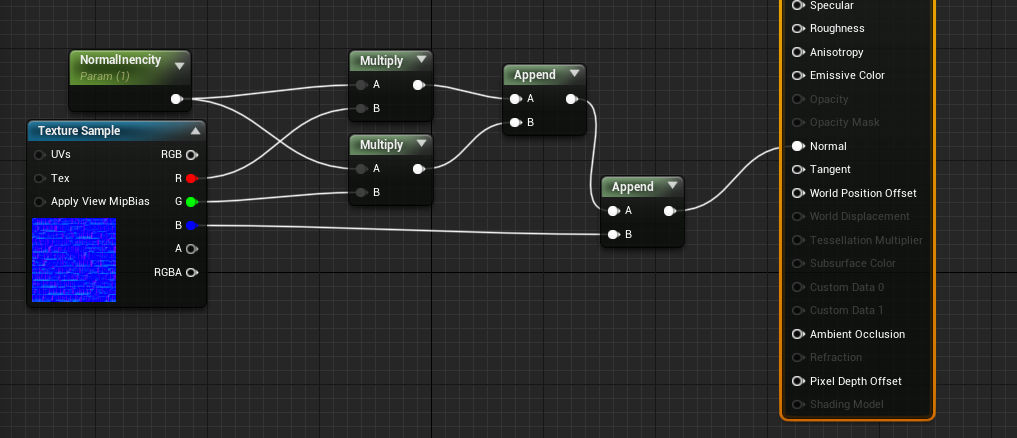
 Bricks045_2K_NormalDX.jpg, and Bricks045_2K_NormalGL.jpg. The first one is for DirectX and the second for OpenGL. For Unreal Engine, we pick Bricks045_2K_NormalDX.jpg, which is DirectX. We could just plug it into "Normal". But to be able to control the intensity of the effect, we add a "Scalar Parameter" let's call it "Normal Map Intensity", we control Red and Green channels, and we just bypath the Blue.
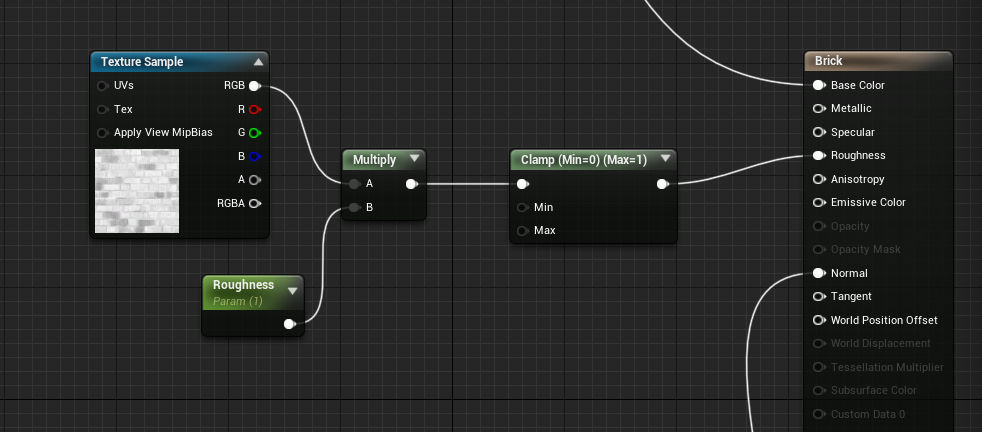
Now we can add a Roughness map. This map determines how glossy our material. Again, we can use a Scalar Parameter, to control the effect. At the end we use clamp from 0 to 1.
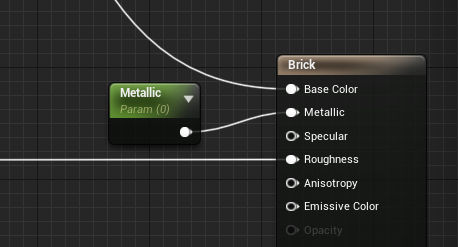
Metallic just shows, if the material is metal.
Now we can save the material. Right Mouse Click and select "Create Material Instance". Double-Click on the instance and we can see all parameters we created.
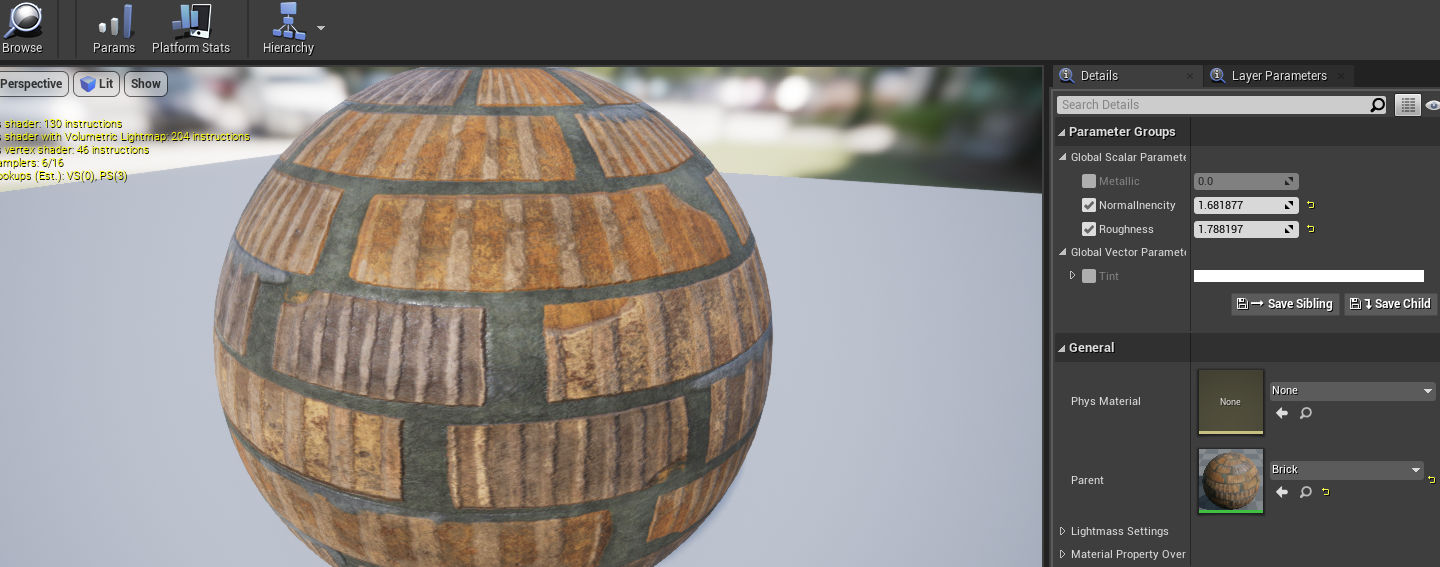
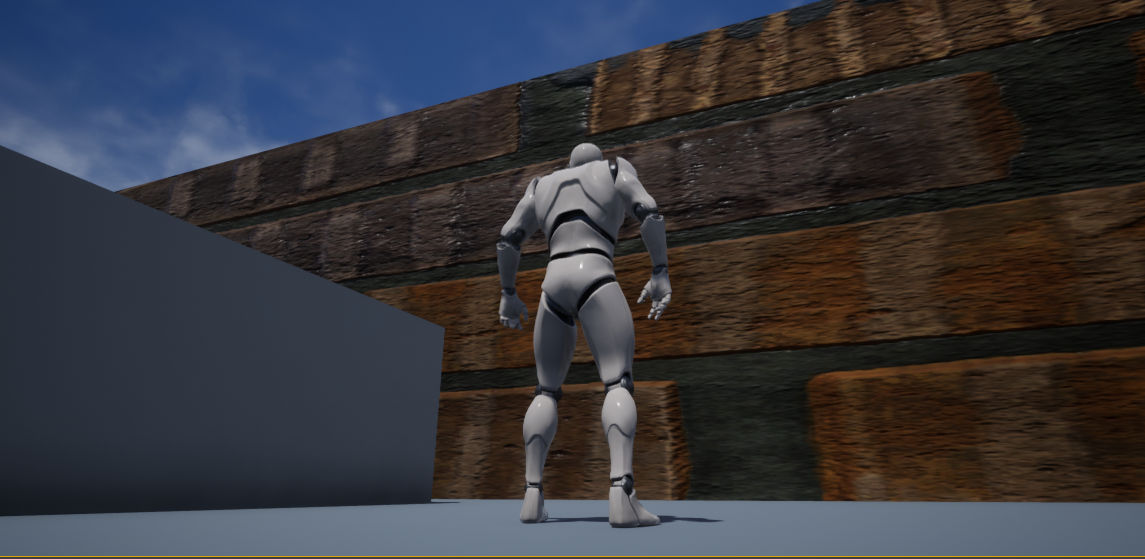
Now let's put our material instance on the wall. We can see that the texture needs some scale.
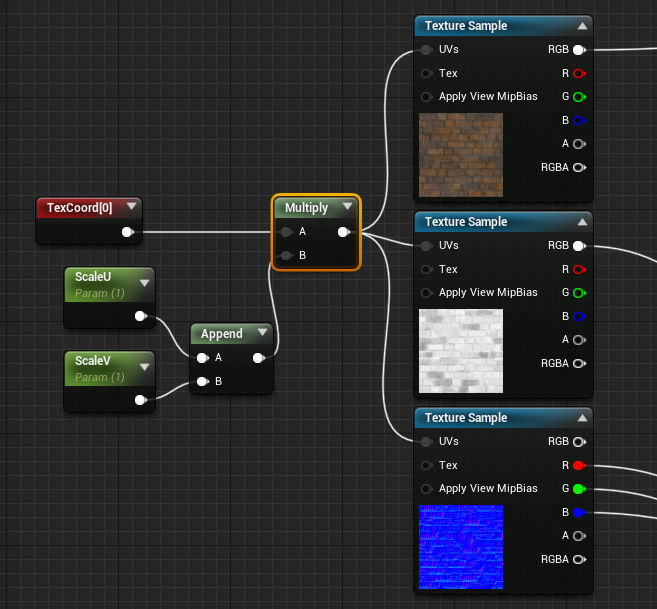
To be able to scale, we need "Texture Coordinate". And the control from instance, let's add two Scalar Parameters. I call them ScaleU, ScaleV.
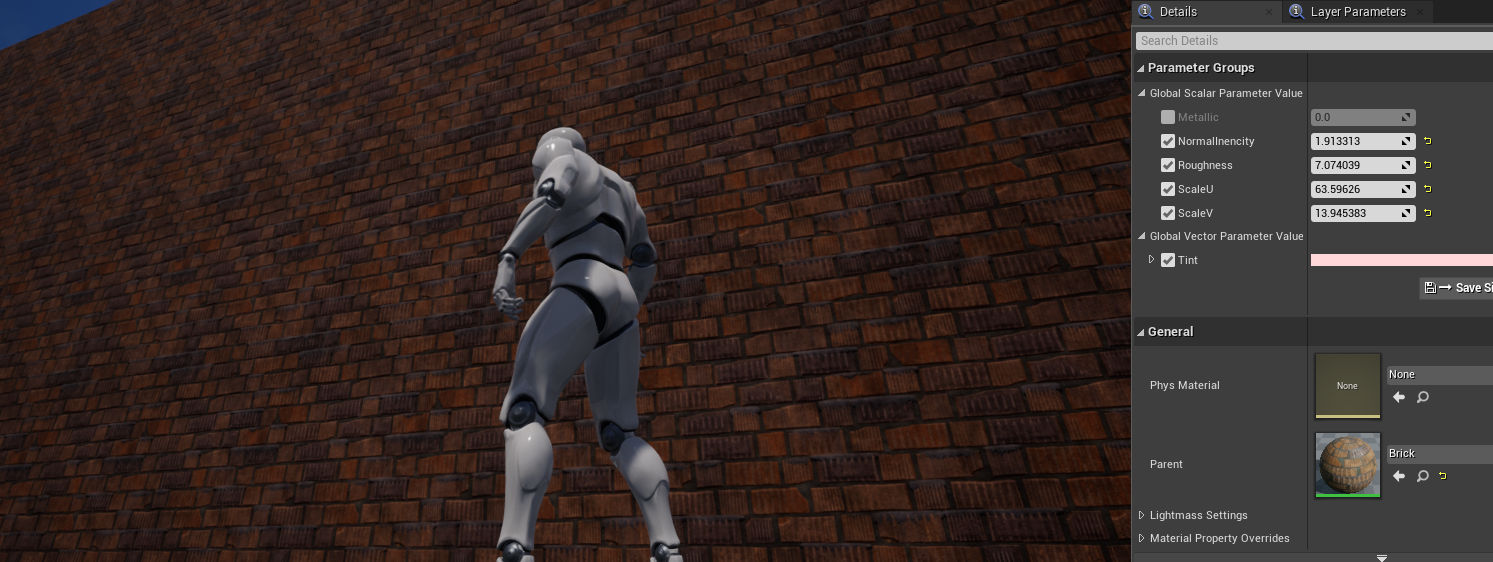
Now we can tweak some parameters and get this result.
But you need to make materials wisely. If you reuse material, you spend less video memory. But if you use too many complicated materials with a lot of calculations, you slow down the render.
Free Textures For PBR
- >How to create a PBR material in Unreal engine using free textures.
- Top 10 Free PBR Textures for Brick Wall.